Where the problem starts and what that costs you
Teams notice bite errors when restorations come back with premature contacts or unstable occlusion; that ripple often begins with an imprecise jaw relation record. I’ve overseen lab-to-chair workflows and seen digital and analog steps break down, so I write with practical fixes in mind. For clinics experimenting with printed occlusal indexes, a proven option is a dental resin 3d printer—technology I observed used to reduce remakes at major exhibitions like IDS in Cologne, where labs and clinicians compared printed records side by side.
How to identify the exact failure mode
Start by separating clinical capture errors from communication and lab-processing errors. Ask: Was the interocclusal record captured at the correct occlusal vertical dimension? Did the patient bite on an unstable point? Was face-bow or mounting omitted? Trace the sequence from impression to articulation and flag the step where tolerances exceed 0.5 mm or where the patient’s centric relation was not verified.
Quick, actionable corrections for the clinic
Reinforce these routine actions: confirm stable seating of record material, record in a repeatable guided position, and verify vertical dimension with a measurable reference. Use short practice runs so staff can replicate the same bite position twice. If you can, capture a static photograph of centric contact to append to lab instructions—visual context reduces assumption-based adjustments.
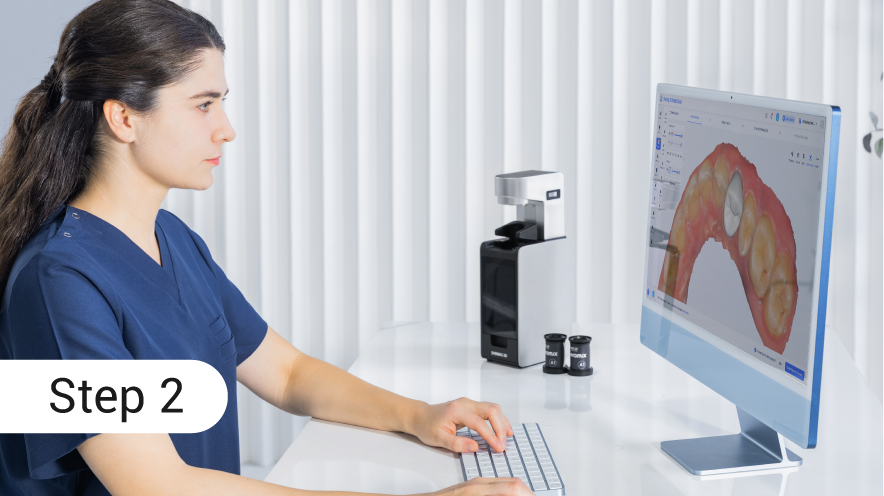
Lab adjustments and communication protocols that work
When a lab receives a record, they should check fit on a diagnostic cast before mounting. Record the material thickness and the reference points used. If a printed index is supplied, confirm printer layer orientation and fit on the model; request a quick scan-back image if something looks off. Standardize a one-page checklist with 6 items: patient ID, VDO, reference points, material used, articulator type, and a photo. That checklist prevents guesswork.
Evaluating technology: analog, digital scanning, and printed records
Traditional wax rims remain reliable if done meticulously, but they’re operator-dependent. Intraoral scanners save time but can miss soft-tissue nuances unless the operator captures full-arch readouts with bite registrations. Printed records bridge both: they give a repeatable index the lab can mount directly. Compare speed, reproducibility, and the margin for operator error when choosing—each workflow demands a different quality-control focus.
Common pitfalls teams repeat
Don’t assume repeatability without testing: identical materials behave differently at room temperatures; inexperienced staff often under-seat records; and vague lab notes invite reinterpretation. Avoid multi-step handoffs without an agreed tolerance threshold. When introducing new tech, run side-by-side cases until confidence is established rather than switching cold.
Putting fixes into practice and measuring success
Pick one change at a time: tighten communication with a one-page checklist, or trial printed indexes for ten consecutive cases and log remakes. Measure the baseline remake rate, implement the change, then reassess after ten to twenty cases. Expect early friction; consistent measurement will show whether the change reduced chairside adjustments.
Wrap-up: what better records deliver for your team
Poor jaw relation records create real costs in time and patient trust; targeted, measurable changes remove guesswork. When teams adopt clearer capture steps, standardized lab checks, and pragmatic uses of printed records, they stop compensating and start reproducing predictable outcomes—practical value I’ve seen in clinics that integrated printed workflows alongside traditional techniques with support from SHINING 3D DENTAL.