
Introduction
Light sets the tone before a single word gets said. A designer lighting company knows this from the moment a client steps into a lobby or gallery. Picture a reception area that looks rich but feels cold—shadows pool, reflections glare, and the vibe is off by a mile. In many projects, lighting can account for a meaningful share of energy use and change orders (and that’s where budgets drift). So the question is simple: are you guiding the space, or is the space exposing gaps in your lighting plan? We see teams rush to fixtures, finishes, and form, yet overlook the workflow that makes those choices hold up under real constraints—ceiling loads, serviceability, and code. That’s the risk when timelines compress and specs shift midstream—funny how that works, right? The better path starts with clarity on what you compare, not just what you buy. Let’s move from surface style to structured choices, one stage at a time.
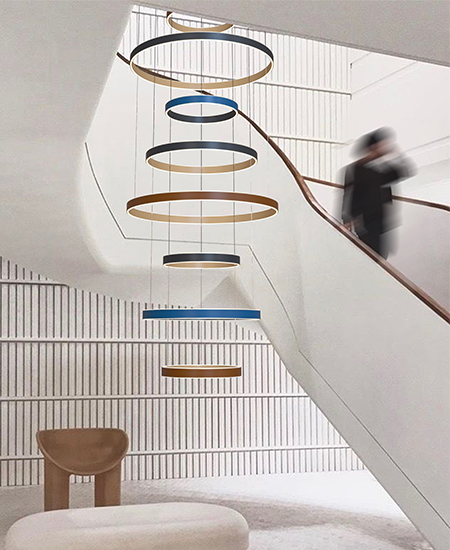
Here’s where we go next—what breaks in the old playbook, and what to measure when you choose.
What the Traditional Path Gets Wrong
Where does complexity really live?
In custom chandelier design, the pain rarely lives in the sketch. It lives in the handoff. Traditional flows lean on static spec sheets and linear procurement. That means small errors stack fast. Lumen output drifts from concept to production. CRI targets get rounded down. Drivers that looked “standard” collide with dimming curves on site. Thermal management is an afterthought, so optics and diffusers run hot and colors shift over time. The result? Rework, emergency tweaks, and delays that arrive right when the ceiling is closed.
As noted earlier, teams often chase form and assume performance will “catch up.” Look, it’s simpler than you think: most misses come from mismatched assumptions. Structural loads don’t match mounting details. Control topology changes from 0–10V to DMX halfway through. Finish samples pass review, but the shop can’t repeat the gloss under production timelines. And power converters? They fit the housing on paper but not the service plan. None of this is dramatic on its own—but together, it breaks the schedule. The lesson is not to over-engineer; it’s to make each decision visible earlier and keep it linked to use, service, and code.
Principles for the Next Build
What’s Next
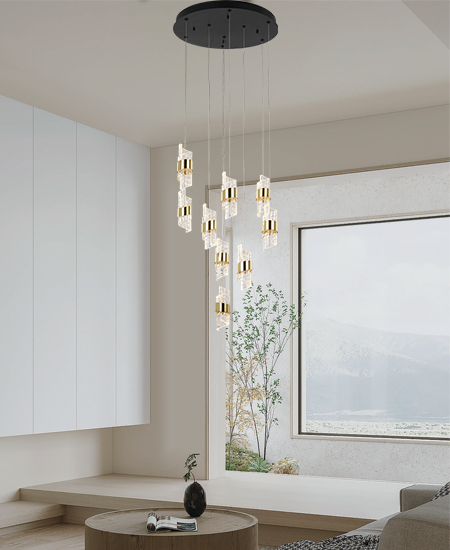
Shift from “pick a fixture” to “design a system.” A forward-ready chandelier treats optics, controls, and structure as one kit. Start with a digital mock-up that links lumen maps, beam angles, and weight to real ceilings. Then pick drivers and dimming logic that match the control stack—DALI-2, DMX/RDM, or Bluetooth Mesh—not the other way around. Use modular boards for fast service and cleaner thermal paths. Map glare early with UGR targets and real diffuser materials. These same habits scale across the room to designer wall lighting, where cutoff angles and mounting boxes can make or break the visual rhythm. Keep the wiring plan simple. Keep the test plan simpler. And when you can, simulate—small digital checks beat big physical surprises.
Under the hood, the “new” is more method than magic. Think in building blocks: optics packages, swappable LED engines, and drivers that hold dim-to-warm curves without shimmer. Pick a control topology that your integrator can actually maintain. Align finish batches to production cadence so color and gloss match across runs. If your space needs show cues, lock timing with DMX scenes before the rig goes up—then push a site mock. Edge devices can help, but only when you define what data matters. Don’t chase dashboards; chase stable uptime and clean service access—funny how that’s the part people see only after opening night. To choose well, measure three things: performance (target CRI, glare index, and verified lumen output); electrical design (driver efficiency, heat, and compatibility with selected power converters); and lifecycle strength (MTBF, service clearance, and parts roadmap). Do that, and you align intent with install—and you keep it aligned over time. In practice, that’s the difference between a showpiece that performs and a showpiece that only photographs well. Learn it once. Reuse it across projects. Then scale it with confidence with kinglong.